How to Build a Clean Home Office Setup for Under $300
This post contains affiliate links. If you purchase through them we may earn a small commission at no extra cost to you. Read our full disclosure here.
Building a clean home office setup under 300 does not require a huge budget or months of planning. How to build a clean home office setup for under $300 is a more answerable question than most people realize.
The assumption is that a proper home office requires serious investment — a standing desk, an ergonomic chair, a dual monitor setup, a ring light, a professional microphone. The list grows until the budget doubles and the whole thing gets deferred indefinitely.
That assumption is wrong.
A genuinely functional, clean, and considered home office can be built for under $300 if the right purchases are made in the right order. Not a compromise setup. Not a temporary arrangement. A real workspace that makes work easier, looks intentional, and holds up daily.
This guide covers exactly how to do it — what to buy, in what order, and what to leave out entirely.
The Principle Before the Budget
Most home office guides recommend everything. This one recommends only what earns its place.
The difference matters because a $300 budget spent on the right six items produces a better result than the same budget spread across fifteen items that each do their job partially.
The principle is simple — buy less, buy right, buy once.
Every purchase in this guide was chosen against three criteria:
| Criteria | What It Means |
|---|---|
| Functional impact | Does it make work meaningfully better |
| Value for money | Does it deliver more than its price suggests |
| Longevity | Will it still be earning its place in two years |
Anything that did not pass all three did not make the list.
What a $300 Home Office Actually Needs

Before the shopping list a reality check on what a home office actually requires versus what gets added out of habit or aspiration.
What You Actually Need
- A surface to work on
- A screen at eye level
- A comfortable input method — keyboard and mouse
- Adequate lighting
- Cables under control
What You Do Not Need Yet
This distinction saves approximately $200 that gets spent on aspirational purchases before the fundamentals are in place.
- A standing desk — useful eventually, not essential at $300
- A second monitor — adds cost and distraction before adding productivity
- A ring light — necessary for video professionals, optional for everyone else
- An ergonomic chair — important but separate from this $300 desk budget
- Decorative items — earn these after the function is right
The $300 Home Office Build — Item by Item
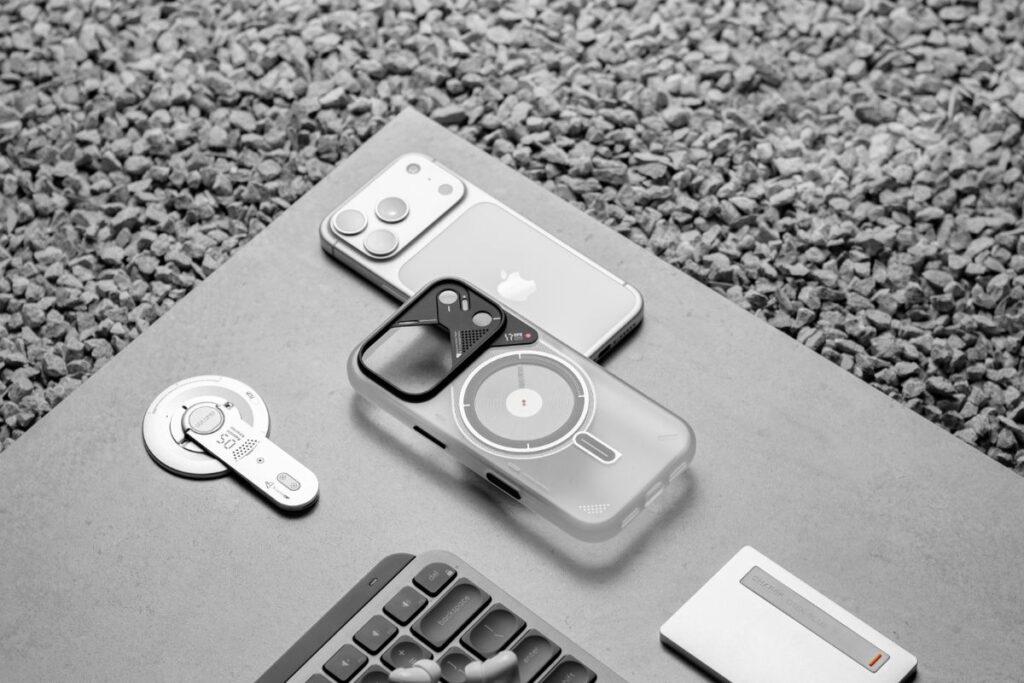
1. Desk Surface — $80 to $120
Everything starts here. A desk that is too small, too wobbly, or too shallow creates problems no accessory can fix.
Minimum size for a comfortable single monitor home office: 120cm wide by 60cm deep. This gives enough room for a monitor at proper viewing distance, a keyboard and mouse with comfortable elbow room, and a clear working surface beside the screen.
What to look for on Amazon:
- Solid legs — no wobble under typing pressure
- Smooth surface — easy to clean, good for mouse movement
- Cable management hole if possible — keeps wiring tidy from the start
2. Monitor Arm — $35 to $50
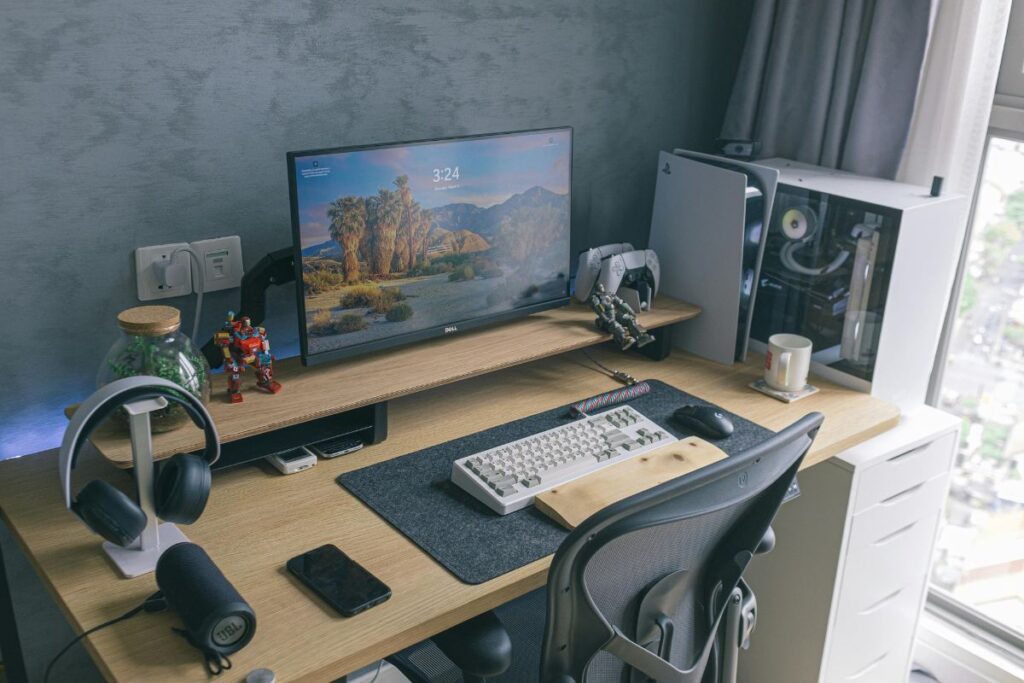
The single highest impact purchase in this entire list.
A monitor arm removes the bulky monitor stand, raises the screen to eye level, frees up significant desk surface, and makes the entire setup look immediately more considered. It does four things at once for under $50.
The ergonomic benefit alone justifies the cost — a monitor at the correct height eliminates the forward head tilt that causes neck and shoulder tension during long work sessions.
For a budget build look for a gas spring arm with a weight capacity that matches your monitor. Built in cable management is worth paying slightly more for.
We covered monitor arms in detail in our complete desk accessories guide.
3. Wireless Keyboard and Mouse — $40 to $60

Going wireless on keyboard and mouse is the single most effective way to reduce cable clutter on a home office desk.
Two fewer cables means a noticeably cleaner surface immediately. Combined with a desk mat the keyboard and mouse become part of a unified setup rather than two separate items connected to a computer by cables that never quite stay tidy.
A tenkeyless keyboard — one without the number pad on the right — reclaims significant desk space and is worth considering if your work does not require regular number entry.
What to look for: reliable wireless connection with no input lag, battery life measured in months not days, low profile design that sits flat on the desk surface.
4. Desk Mat — $20 to $30
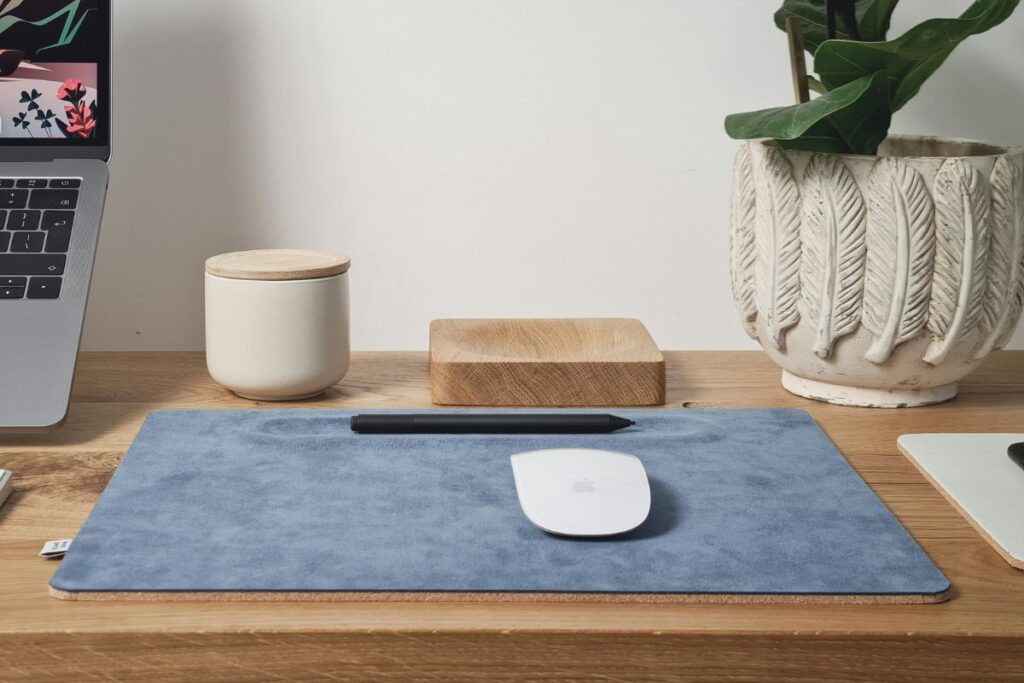
The purchase that ties everything together visually.
A full width desk mat unifies every item sitting on it — the keyboard, the mouse, the monitor arm base, the charging pad — into a single considered surface rather than a collection of separate objects that happen to share a desk.
It also protects the desk surface and gives the mouse consistent tracking across its entire range of movement.
Go full width rather than a small mouse pad. The visual difference is significant and disproportionate to the price difference.
We covered the best desk mat options in our minimal desk setup guide.
5. Cable Management Box — $20 to $25
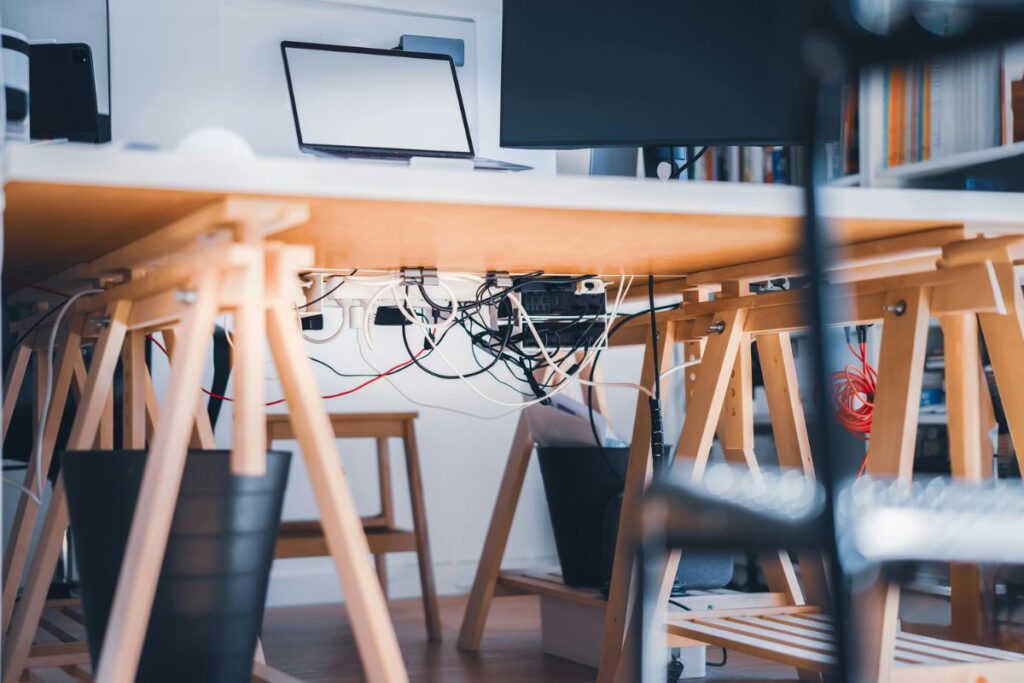
The least exciting purchase on this list and the one that makes the second biggest visual difference after the monitor arm.
Your power strip and every charging brick disappears inside. Only the cables that need to come out do so through purpose built openings. The box sits somewhere discreet and you never think about it again.
The before and after visual difference is immediate and significant. The same desk, the same cables, the same setup — except none of the clutter is visible.
Get one with ventilation gaps for heat dissipation and enough internal space for a six socket power strip.
6. Monitor Light Bar — $30 to $50
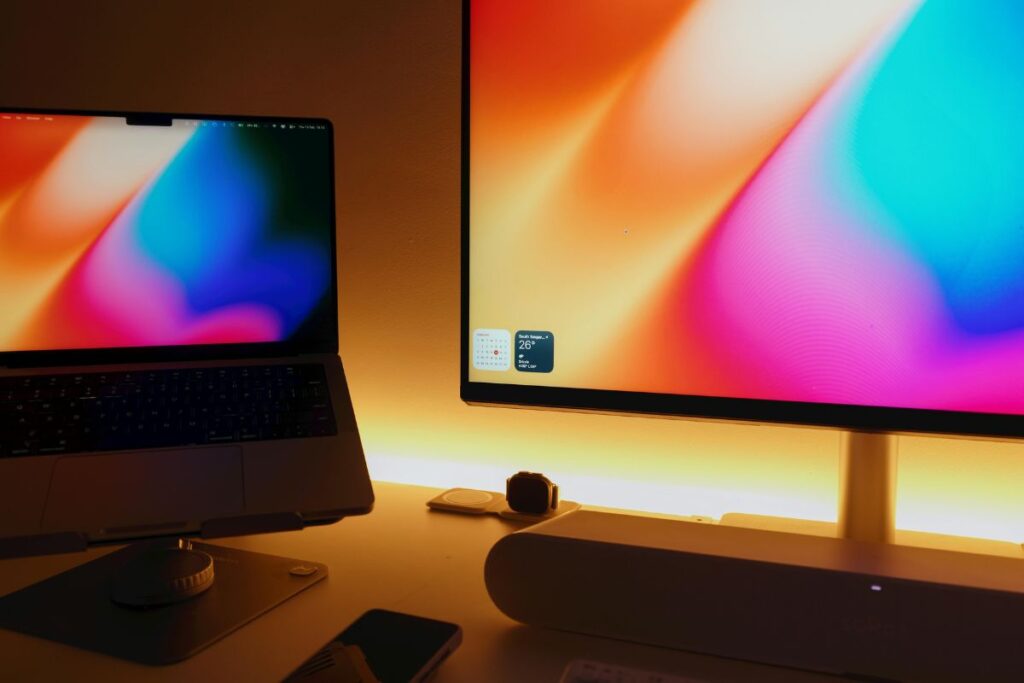
The finishing touch that makes a home office genuinely pleasant to work in rather than just functional.
A monitor light bar sits on top of your monitor, illuminates your desk surface from above, and creates zero glare on your screen. It takes up no desk space, requires no positioning adjustment, and makes early morning and evening work sessions considerably more comfortable.
For anyone working in a room without great natural light this is not optional — it is essential.
The Complete $300 Budget Breakdown
| Item | Budget Option | Cost |
|---|---|---|
| Desk 120cm | Simple laminate desk | $80 — $120 |
| Monitor Arm | Budget gas spring | $35 — $50 |
| Wireless Keyboard and Mouse | Combo pack | $40 — $60 |
| Desk Mat | Full width fabric | $20 — $30 |
| Cable Management Box | Ventilated box | $20 — $25 |
| Monitor Light Bar | USB powered | $30 — $50 |
| Total | $225 — $335 |
The lower end of that range comes in well under $300. The upper end stretches slightly over — adjust by choosing a more affordable desk or keyboard combo to bring it back within budget.
What to Buy First if Budget is Tight
If $300 is not available all at once prioritise in this order:
| Priority | Item | Why First |
|---|---|---|
| 1 | Desk | Everything else depends on this |
| 2 | Monitor Arm | Biggest single impact item |
| 3 | Desk Mat | Ties setup together visually |
| 4 | Cable Management | Removes most visual noise |
| 5 | Wireless KB and Mouse | Removes remaining cable clutter |
| 6 | Monitor Light Bar | Final comfort upgrade |
Buy in this sequence and every step produces a noticeably better result than the one before it.
What This Setup Produces
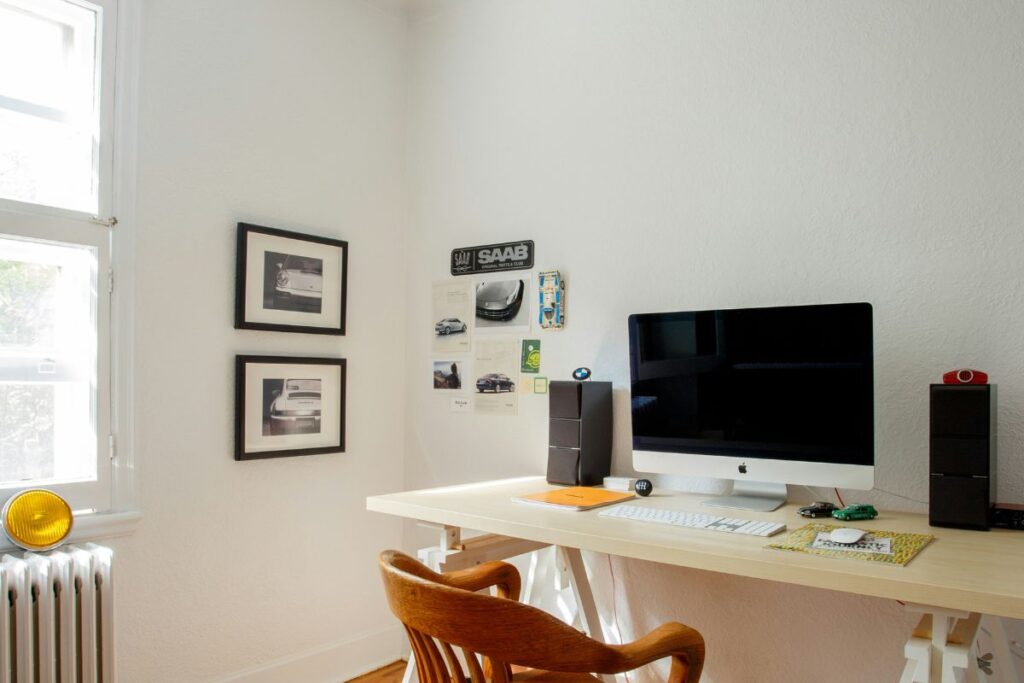
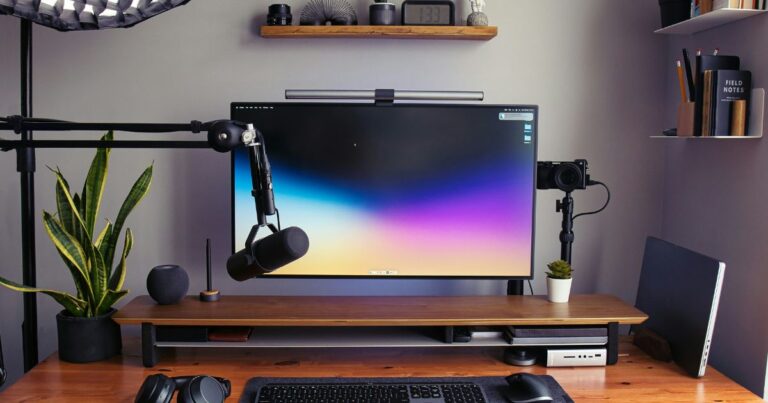
A desk with no visible cables, a monitor at eye level, a keyboard and mouse on a unified surface, and a light that makes the whole thing pleasant to sit at for eight hours.
Not a temporary setup. Not a compromise. A real home office that works as well as it looks — built for under $300 by buying the right things in the right order.
The Upgrade Path
Once this foundation is in place the natural next purchases — when budget allows — are:
| Upgrade | Approximate Cost | Why |
|---|---|---|
| Wireless charging pad | $15 — $25 | Removes last remaining cable |
| Laptop stand | $20 — $35 | If using laptop alongside monitor |
| Smart plug | $8 — $12 | Automates desk lamp and devices |
| USB-C hub | $25 — $45 | Replaces multiple cable connections |
Each upgrade builds on the foundation without changing it. The core setup remains intact — it just gets progressively more refined over time.
Already have the desk sorted? Read our minimal desk setup guide for the full philosophy, or our desk accessories guide for the individual items covered in more detail.